Flashpoint Conflict: the Dominion civil war over Kerrigan
The Flashpoint Conflict was a Terran Dominion civil war fought during the Second Great War. Emperor Arcturus Mengsk hunted the deinfested and weakened Sarah Kerrigan across the sector, while his own son Valerian and Raynor's Raiders fought a running battle to keep her alive and deliver her to the Umojan Protectorate.
The Flashpoint Conflict was a Terran Dominion civil war fought during the Second Great War. It began in the immediate aftermath of the Battle of Char, when Emperor Arcturus Mengsk demanded custody of the newly deinfested Sarah Kerrigan for execution. His son, Prince Valerian Mengsk, refused, and together with Raynor's Raiders fought a desperate running campaign against the Dominion Armada. The rebels suffered heavy casualties but delivered Kerrigan to the Umojan Protectorate, and in the war's wake she began reuniting the Zerg Swarm under her leadership. (StarCraft II: Flashpoint; StarCraft II: Heart of the Swarm)
Breakout at Char#
The Battle of Char ended in a terran victory, and Kerrigan and the xel'naga device that had restored her were ferried aboard the battlecruiser Bucephalus. Emperor Mengsk had been waiting nearby aboard the battlecruiser White Star with the remainder of the Dominion Armada, ready to pounce on whoever won the battle, and he demanded custody of Kerrigan for execution. (StarCraft II: Wings of Liberty; StarCraft II: Flashpoint)
Prince Valerian knew of the prophecy involving the Dark Voice and refused to hand her over. The emperor attempted to take her by force, and showed himself willing to kill his own son to do so. The remnant of the invasion fleet sustained damage in the exchange but escaped after the Hyperion, flagship of Raynor's Raiders, lured zerg onto White Star. (StarCraft II: Flashpoint)
Aboard the fleeing ships, Jim Raynor brought Kerrigan, gravely ill from her deinfestation, to Egon Stetmann, who admitted he lacked the knowledge to even begin treating her failing condition. Valerian's answer was to seek out Dr. Emil Narud, an expert on the zerg. That plan would nearly destroy them all. (StarCraft II: Flashpoint)
The running fight#
The Dominion did not need luck to find the fugitives. Covert tracking devices had been planted aboard the Bucephalus, and the Armada intercepted the rebels within fifteen minutes of their leaving Char. The rebels escaped at the cost of more ships, and engineers of the Raiders, among them Rory Swann, Earl and Annabelle Thatcher, boarded the Bucephalus to strip out the trackers. (StarCraft II: Flashpoint)
In the next engagement the rebels bought their escape with a warship. The battlecruiser Herakles was evacuated and rammed into White Star; the Dominion flagship survived, but with significant damage. The victory was a bleak one. By the end of these skirmishes the rebel fleet had been whittled down to just two vessels, the Bucephalus and the Hyperion. (StarCraft II: Flashpoint)
Sanctuary on Dead Man's Rock#
On Raynor's suggestion, the rebels went to ground on Dead Man's Rock under the protection of Mira Han, the world's dominant crime lord. The two battlecruisers hid inside a junk pile while the rebel leadership, including Raynor, Valerian and Kerrigan, descended to the surface, where Narud joined them. Han assigned Gary Crane, a mercenary in her employ, to look after her guests. She did not know that Crane intended to betray her, and his attack caught the rebels while they were separated. (StarCraft II: Flashpoint)
Kerrigan, recovering some of her powers at a safehouse, sensed the attack coming. Crane's mercenary ships, including a battlecruiser, struck at the hidden rebel warships, and Swann immediately ordered the Hyperion to break free of the junk pile and launch. On the surface, Raynor, Valerian, Matt Horner and Narud were caught leaving a meeting at a bar, and Horner took a wound to the arm. The party fled to an abandoned prefab home, from which Horner alerted Han, while Valerian authorized the Bucephalus to engage; the battlecruiser's top-of-the-line vikings stymied the mercenary fleet. (StarCraft II: Flashpoint)
Han evacuated Kerrigan to the Bucephalus and passed word of a secret tunnel that let the rebel leaders slip out of the prefab home unseen. Unaware of the tunnel, Crane turned to Cooper, his contact inside the Raiders, a crewman who had sold out the rebels to the Dominion for money and served as a spy aboard their ship. It was not enough. Han arrived with transportation and reinforcements, the leaders got away, and once the rebels were safely off world she moved against Crane herself. (StarCraft II: Flashpoint)
The trap at Prometheus#
The rebels made for Space Station Prometheus, a secret Moebius Foundation installation hidden in the Kirkegaard Belt, where Narud carried out hybridization experiments whose true extent he concealed even from Valerian. The battlecruisers took on repair teams from the station as they slowly picked through the dangerous belt, while Narud, Valerian, Raynor, Kerrigan and Stetmann went ahead. Kerrigan did not trust Narud, and her instincts were sound: the doctor was secretly cooperating with Emperor Mengsk, and the stop at Prometheus was a trap. The "repair" crews sabotaged the ships while Stetmann supervised Kerrigan's preliminary tests and Narud entertained his other guests. When the sabotage was complete, Narud moved to seize them, and the Dominion fleet arrived. (StarCraft II: Flashpoint)
Kerrigan broke out of her laboratory, defeating a ghost and a squad of marines, and rescued Stetmann first. Raynor avoided capture and set off after them, but was held up by marines and by two hybrids under Narud's control. Over the din, the emperor broadcast an offer: safe passage for the rebels in exchange for Kerrigan's death. The sound of his voice enraged her, and she used her powers to destroy the hybrids. (StarCraft II: Flashpoint)
The sabotaged rebel ships could not immediately come to the rescue. The Hyperion's crew barely noticed the tampering in time, and Horner sent troops to engineering to deal with the "repair" crew. Hasty patchwork left the rebels at a severe disadvantage against the Dominion fleet, but they launched their fighters; even Cooper, the turncoat, piloted a Wraith and shot down another Wraith. (StarCraft II: Flashpoint)
On the station, Valerian, Raynor, Kerrigan and Stetmann reunited, but Narud stayed ahead of them and boarded a transport with the xel'naga device. The Raiders deployed the dropship Fanfare, newly retrofitted with weapons, to extract the ground team; Annabelle Thatcher rode aboard to keep those weapons running. Fanfare fired on Narud's transport, but the doctor got away. Kerrigan, locked in combat with yet another hybrid, was saved when Fanfare destroyed the creature, though the rescue carried a price: Thatcher was accidentally killed by Kerrigan's psionic powers. (StarCraft II: Flashpoint)
White Star moved to intercept the dropship and was frustrated when the Bucephalus engaged the Dominion flagship. With Fanfare recovered, the two rebel battlecruisers made a series of short-distance warp jumps through the belt's "stardust" clouds, which the rebels had irradiated to blind Dominion sensors. The trick bought enough time to plot a long-distance jump and escape. (StarCraft II: Flashpoint)
Aftermath#
Valerian directed the survivors to a secret Umojan Protectorate orbital platform where the battlecruisers could be repaired and Kerrigan could finally receive treatment. Shortly afterward she was moved to the Umojan facility Research Station EB-103, where tests measured the extent of the zerg mutagens still in her system. (StarCraft II: Flashpoint; StarCraft II: Heart of the Swarm)
The reprieve did not last. Dominion forces eventually found the facility, and in a raid led by Nova Terra they captured Raynor and forced Valerian, Horner and Kerrigan to flee. After failing to rendezvous with Raynor, Kerrigan returned to the Zerg Swarm and began to reestablish her control over it, sparking the next phase of the Second Great War. The civil war Arcturus Mengsk had started to kill one woman had instead cost him his hold on his son, hardened his enemies, and put the Queen of Blades back at the head of the Swarm. (StarCraft II: Heart of the Swarm)
Sources
- GameStarCraft II: Wings of Liberty, Blizzard Entertainment, 2010
- GameStarCraft II: Heart of the Swarm, Blizzard Entertainment, 2013
- BookStarCraft II: Flashpoint, Christie Golden, Gallery Books, 2012
Spotted a factual error or a primary source we missed? Email a correction. Every flagged claim gets reviewed.
Followed from this entry
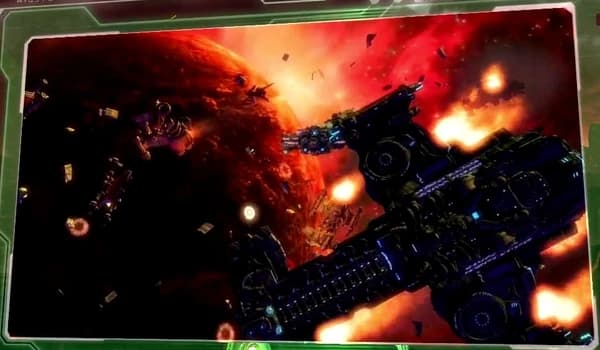
Battle of Char
The Battle of Char was fought during the Second Great War between a joint Terran Dominion and Raynor's Raiders force and the Zerg Swarm. Instigated by Prince Valerian Mengsk and led by Jim Raynor, it ended with the de-infestation of Sarah Kerrigan by a xel'naga device.
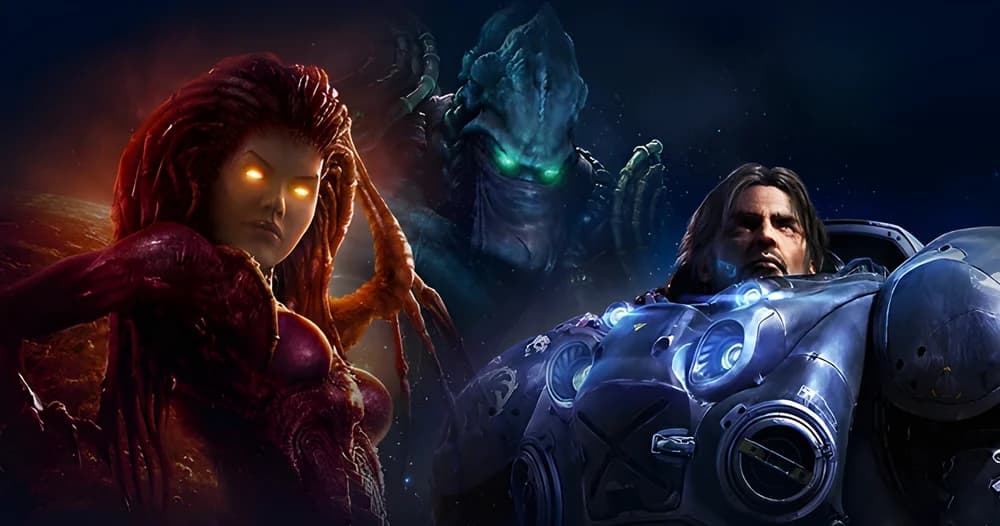
Second Great War: Swarm vs Dominion, 2504
The Second Great War broke out in 2504 and ended on Korhal with Arcturus Mengsk dead at Kerrigan's hand. Deinfesting her mid-war let the xel'naga Amon return.
Dominion Armada: naval arm of the Terran Dominion
The Dominion Armada, also called the Dominion Fleet or Dominion Navy, was the space naval arm of the Terran Dominion military. Built partly from former Confederate units, it fought at Char, through the Brood War and the Second Great War, and in the End War against Amon.
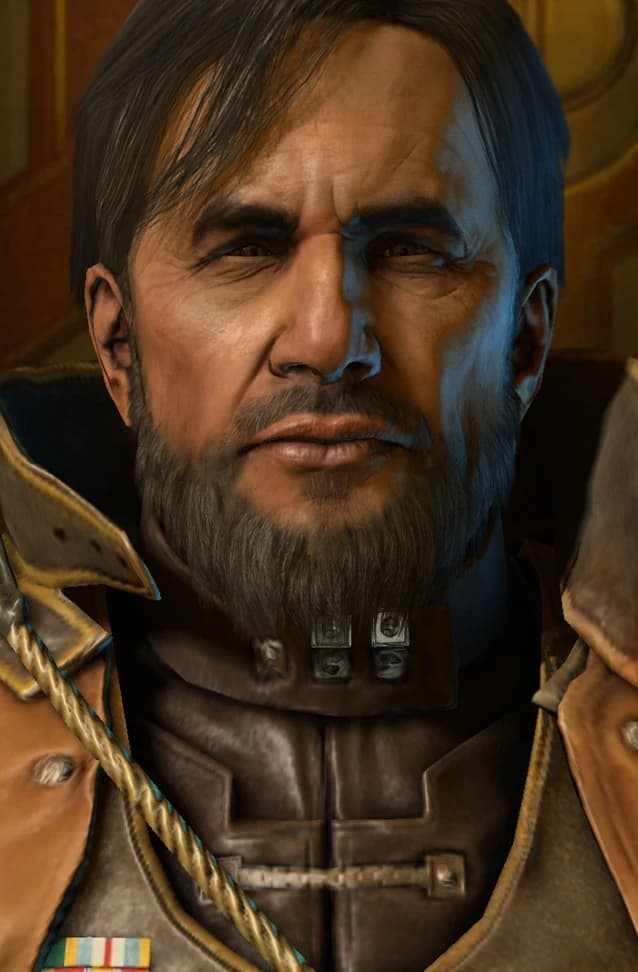
Arcturus Mengsk
Arcturus Mengsk led the Sons of Korhal to bring down the Terran Confederacy and crowned himself Emperor of the Terran Dominion, ruling through cunning, propaganda, and brute force until his death during the Second Great War.
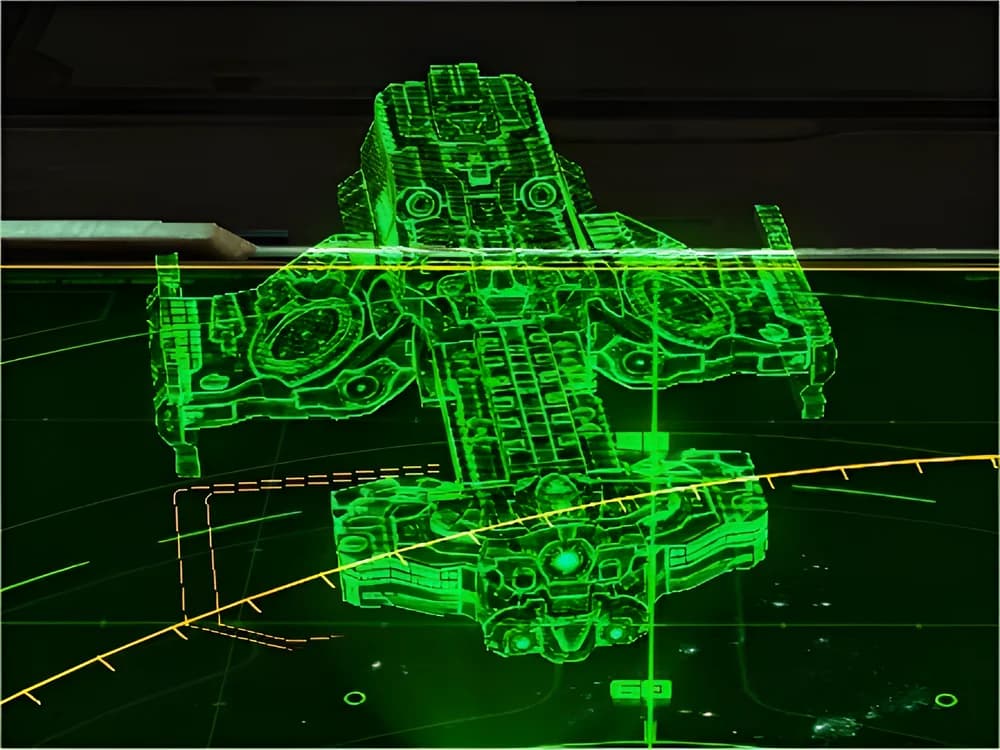
Bucephalus
The Bucephalus was a Gorgon-class battlecruiser and Terran Dominion flagship, built at the Ursa Shipyards to replace the stolen Hyperion. It carried Crown Prince Valerian Mengsk through the campaign on Char and the rogue flight that followed Kerrigan's rescue, and later served as Valerian's command ship during the Defenders of Man Insurgency.
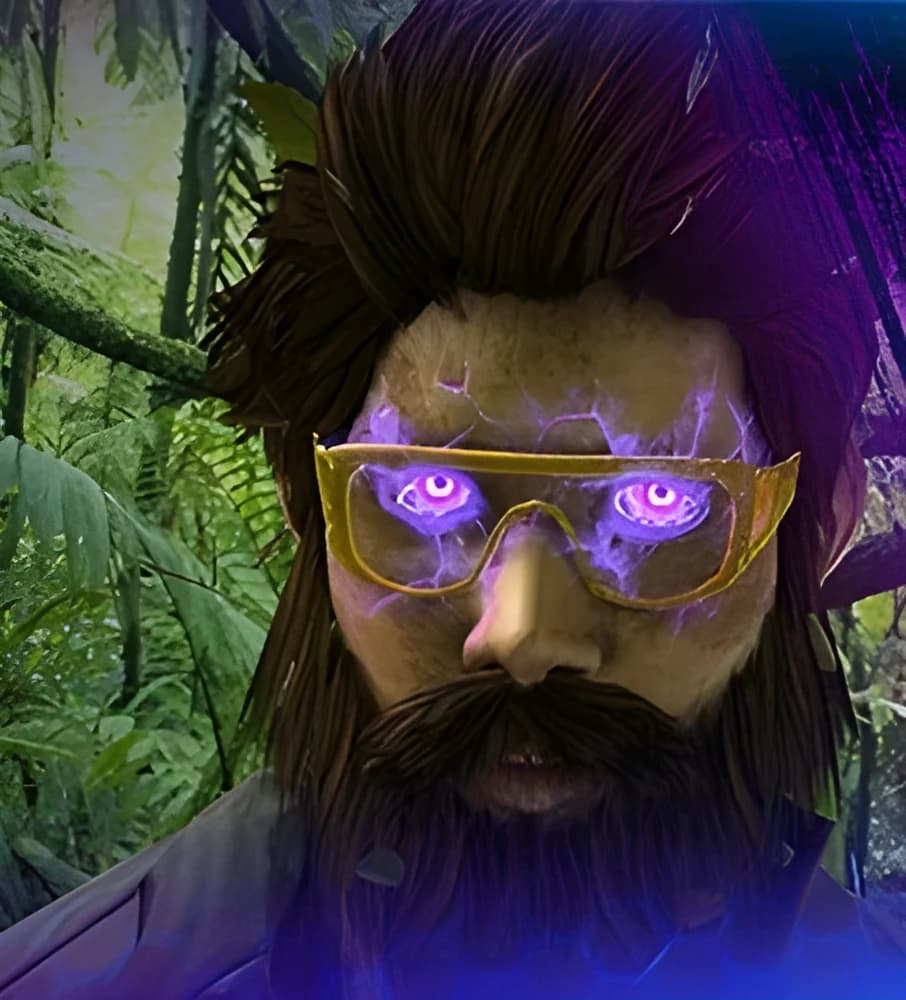
Egon Stetmann
Egon Stetmann was the chief science advisor of Raynor's Raiders, a brilliant and eccentric young scientist who fled the Terran Dominion after sabotaging a cyborg program. Years stranded on Bel'Shir under terrazine exposure unhinged his mind and led him to build the Mecha Swarm.
Mentioned in2 entries
Umojan Protectorate: the neutral power
Smaller than the Confederacy or the Dominion, Umoja held both off with advanced technology and espionage, and sheltered the dissidents they wanted.
Yamato Cannon: the Battlecruiser Superweapon of StarCraft
The Yamato cannon is the terran battlecruiser's prow-mounted plasma gun, a weapon that focuses a controlled nuclear blast into a single beam. Here is how it works in the lore, which ships carry it, the fights it shaped and what the lore does and doesn't say about the name.
Get new articles in your inbox
No spam. New lore drops, canon conflicts, and deep dives only when they’re worth reading.
Some links on Lore Fortress are affiliate links. If you buy through them we earn a small commission at no extra cost to you.